Your Practical Irrigation Repair Guide For Wintry Weather
Introduction: Cold snaps are sneaky. One quick plunge in temperature and a functioning sprinkler system can turn into cracked fittings, leaky valves, and ice spots that make a mess in the yard. This guide breaks down what actually helps during wintry weather, focusing on irrigation repair steps that protect components, prevent surprise breakages, and get water flowing again without wasting time or money.
Irrigation Repair For Wintry Weather Starts With Smart Prep
Inspect, Isolate, And Protect Before Temperatures Drop
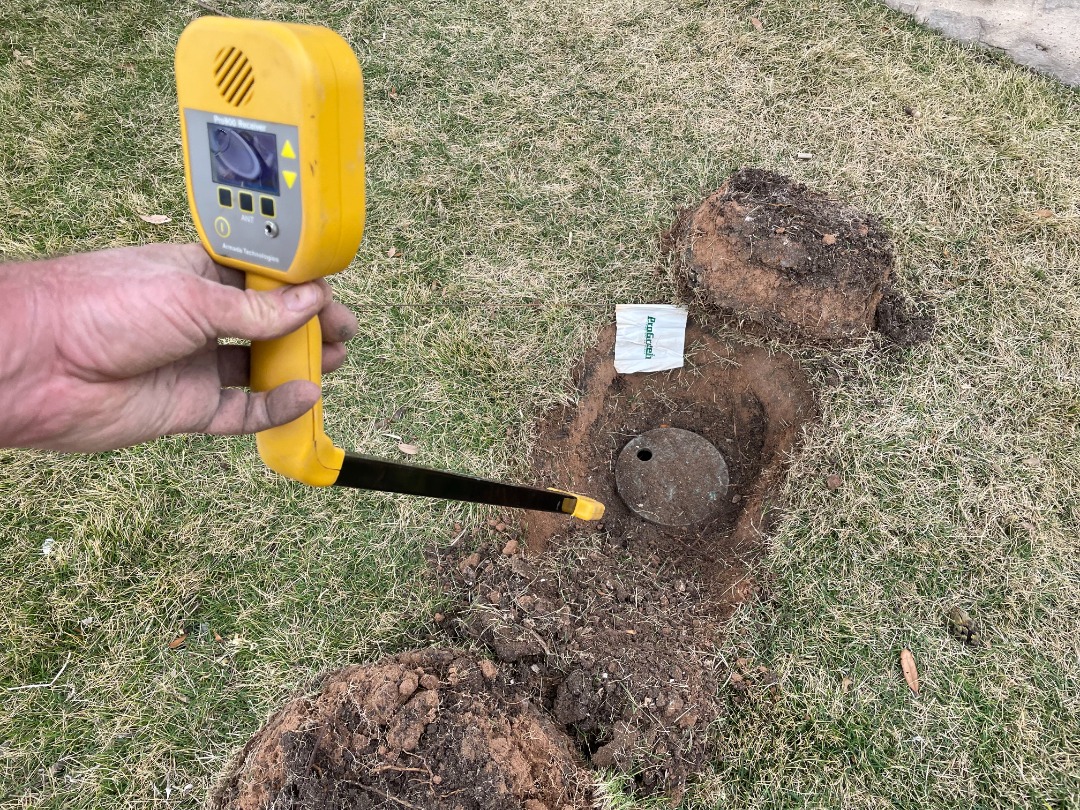
A successful repair in Austin TX, often begins before anything fails. When forecasts hint at freezing, a simple walkthrough can reveal weak points that winter loves to target. Look at the backflow, watch for damp soil around valve boxes, and check couplings where different materials meet. If a zone refuses to shut off, treat that as a repair priority ahead of the cold, since trapped water under pressure is what cracks the brittle parts first. Close the supply to any suspect section, open a low point drain where available, and tag the zone on your controller so you remember what needs attention the moment the sun returns.
Protection is not complicated; it just needs to be deliberate. Insulate exposed assemblies with purpose-made covers or thick wraps to keep wind from reaching metal parts. A sprinkler head cover helps shield individual pop-ups near sidewalks and drive entries where cold air cuts hardest. Even a quick cap replacement now can save an afternoon of digging later. The mindset is simple. Lower pressure in weak areas, protect the surfaces that lose heat fastest, and leave enough notes for yourself so repairs happen quickly when the weather eases.
Drain, De-Pressurize, And Document For Faster Repairs
Water sitting in the wrong place is the root of winter damage. Relieve pressure at the source by closing the main irrigation shutoff and opening a drain downstream if one exists. Some systems include a manual bleeder on each valve. Crack those gently to let trapped water out, then return them to closed once the flow slows to a drip. If your system has a backflow with test ports, use them to vent a little water and air so the device is not holding a full column of water on the coldest night. These small steps take minutes and reduce the chance you will be patching up leaks in January.
Documentation sounds fussy and time-consuming, yet it is the best time saver when it comes to landscaping work. Snap a photo of any component you insulate or drain, and record the controller settings you changed to bypass a zone. That way, if you wake up to ice, you already know what you touched and where to begin. When it is time to perform irrigation repair after a freeze, you can retrace steps, repressurize in a clean sequence, and spot any new problems with a clear head. Simple notes turn a stressful scramble into a steady checklist that keeps the system safe.
Irrigation Repair That Protects Components In Freezing Conditions
Safeguard Backflows, Valves, And Heads With Practical Covers
Backflow assemblies are the heart of the system’s safety, and winter is not kind to them. Wrap the body with insulating material that resists moisture, then add a fitted cover that blocks wind. Keep air gaps at the bottom to prevent condensation from building up. If the unit sits inside a box, check the lid and sidewalls for gaps that whistle cold air through. A tight box with an insulated lid keeps temperatures far more stable around the bronze body. For valves, clear debris from the boxes so the lids sit flush, and add a simple insulating mat on top of the manifold for a little buffer against radiated heat loss.
Sprinkler heads get ignored until they crack. A sprinkler head cover is an inexpensive tool that keeps icy wind from prying at the stem and external threads. After a cold night, lift a few heads gently by hand and feel for resistance. Gritty grinding or a stem that refuses to retract often means ice damage or trapped sediment. Replacing the riser seal or the head before the next freeze prevents pooling around the nozzle and the slippery sheen that follows. These small protective measures keep the irrigation repair bill lower and the landscaping tidier throughout the season.
Test Methodically So Repairs Solve The Root Cause
When temperatures bounce back, resist the urge to crank the system on full. Open the supply slowly and pressurize each zone in turn. Watch for backflow at the test ports, then step to the first zone and run a short manual cycle. If water bubbles up around a valve box, pause the controller and investigate before moving on. Fixes that stick usually come from patience here. Tighten a union a quarter turn, replace a split poly coupling, or swap a brittle part on a head that took a hit. Then test again briefly before graduating to the next zone.
Keep an eye on pressure symptoms during this controlled start-up. Heads that fail to pop may signal a hidden mainline leak that is starving the zone. Mist that drifts instead of arcs can indicate a cracked nozzle or a pressure regulator failure. These observations point you to the precise repair instead of a guess. After each fix, rinse the area, let it settle, and look for new damp spots. That quiet recheck is how you confirm the system is sealed, which matters even more in wintry weather, when every stray leak can turn into a patch of ice.
Irrigation Repair For Fast Recovery After A Hard Freeze
Triage The System And Prioritize Safety, Then Performance
After a hard freeze, a quick triage helps you separate urgent issues from cosmetic ones. Start at the water source. If the main shutoff will not open smoothly or the backflow leaks at the seam, keep the water off and focus on that assembly first. Once the source is stable, move to distribution. Walk the lines, listen for hissing, and press your foot along suspected paths to feel for squishy soil that suggests a break below. Repairing supply leaks first keeps the entire network from wasting water and turning paths into skating rinks during the next cold night.
With the mainline sound, shift to the active landscaping areas that handle daily traffic. Repair broken spray heads near doorways and sidewalks before addressing tucked-away zones in beds. That choice is not just about looks. It is about safety and clean movement around the home. When heads and rotors are stable, recalibrate the controller for cool-season runtimes, since soil evaporation slows down in winter. This slight cut in runtime lowers pressure stress across the system, which helps new repairs settle in and stay sealed when temperatures wobble again.
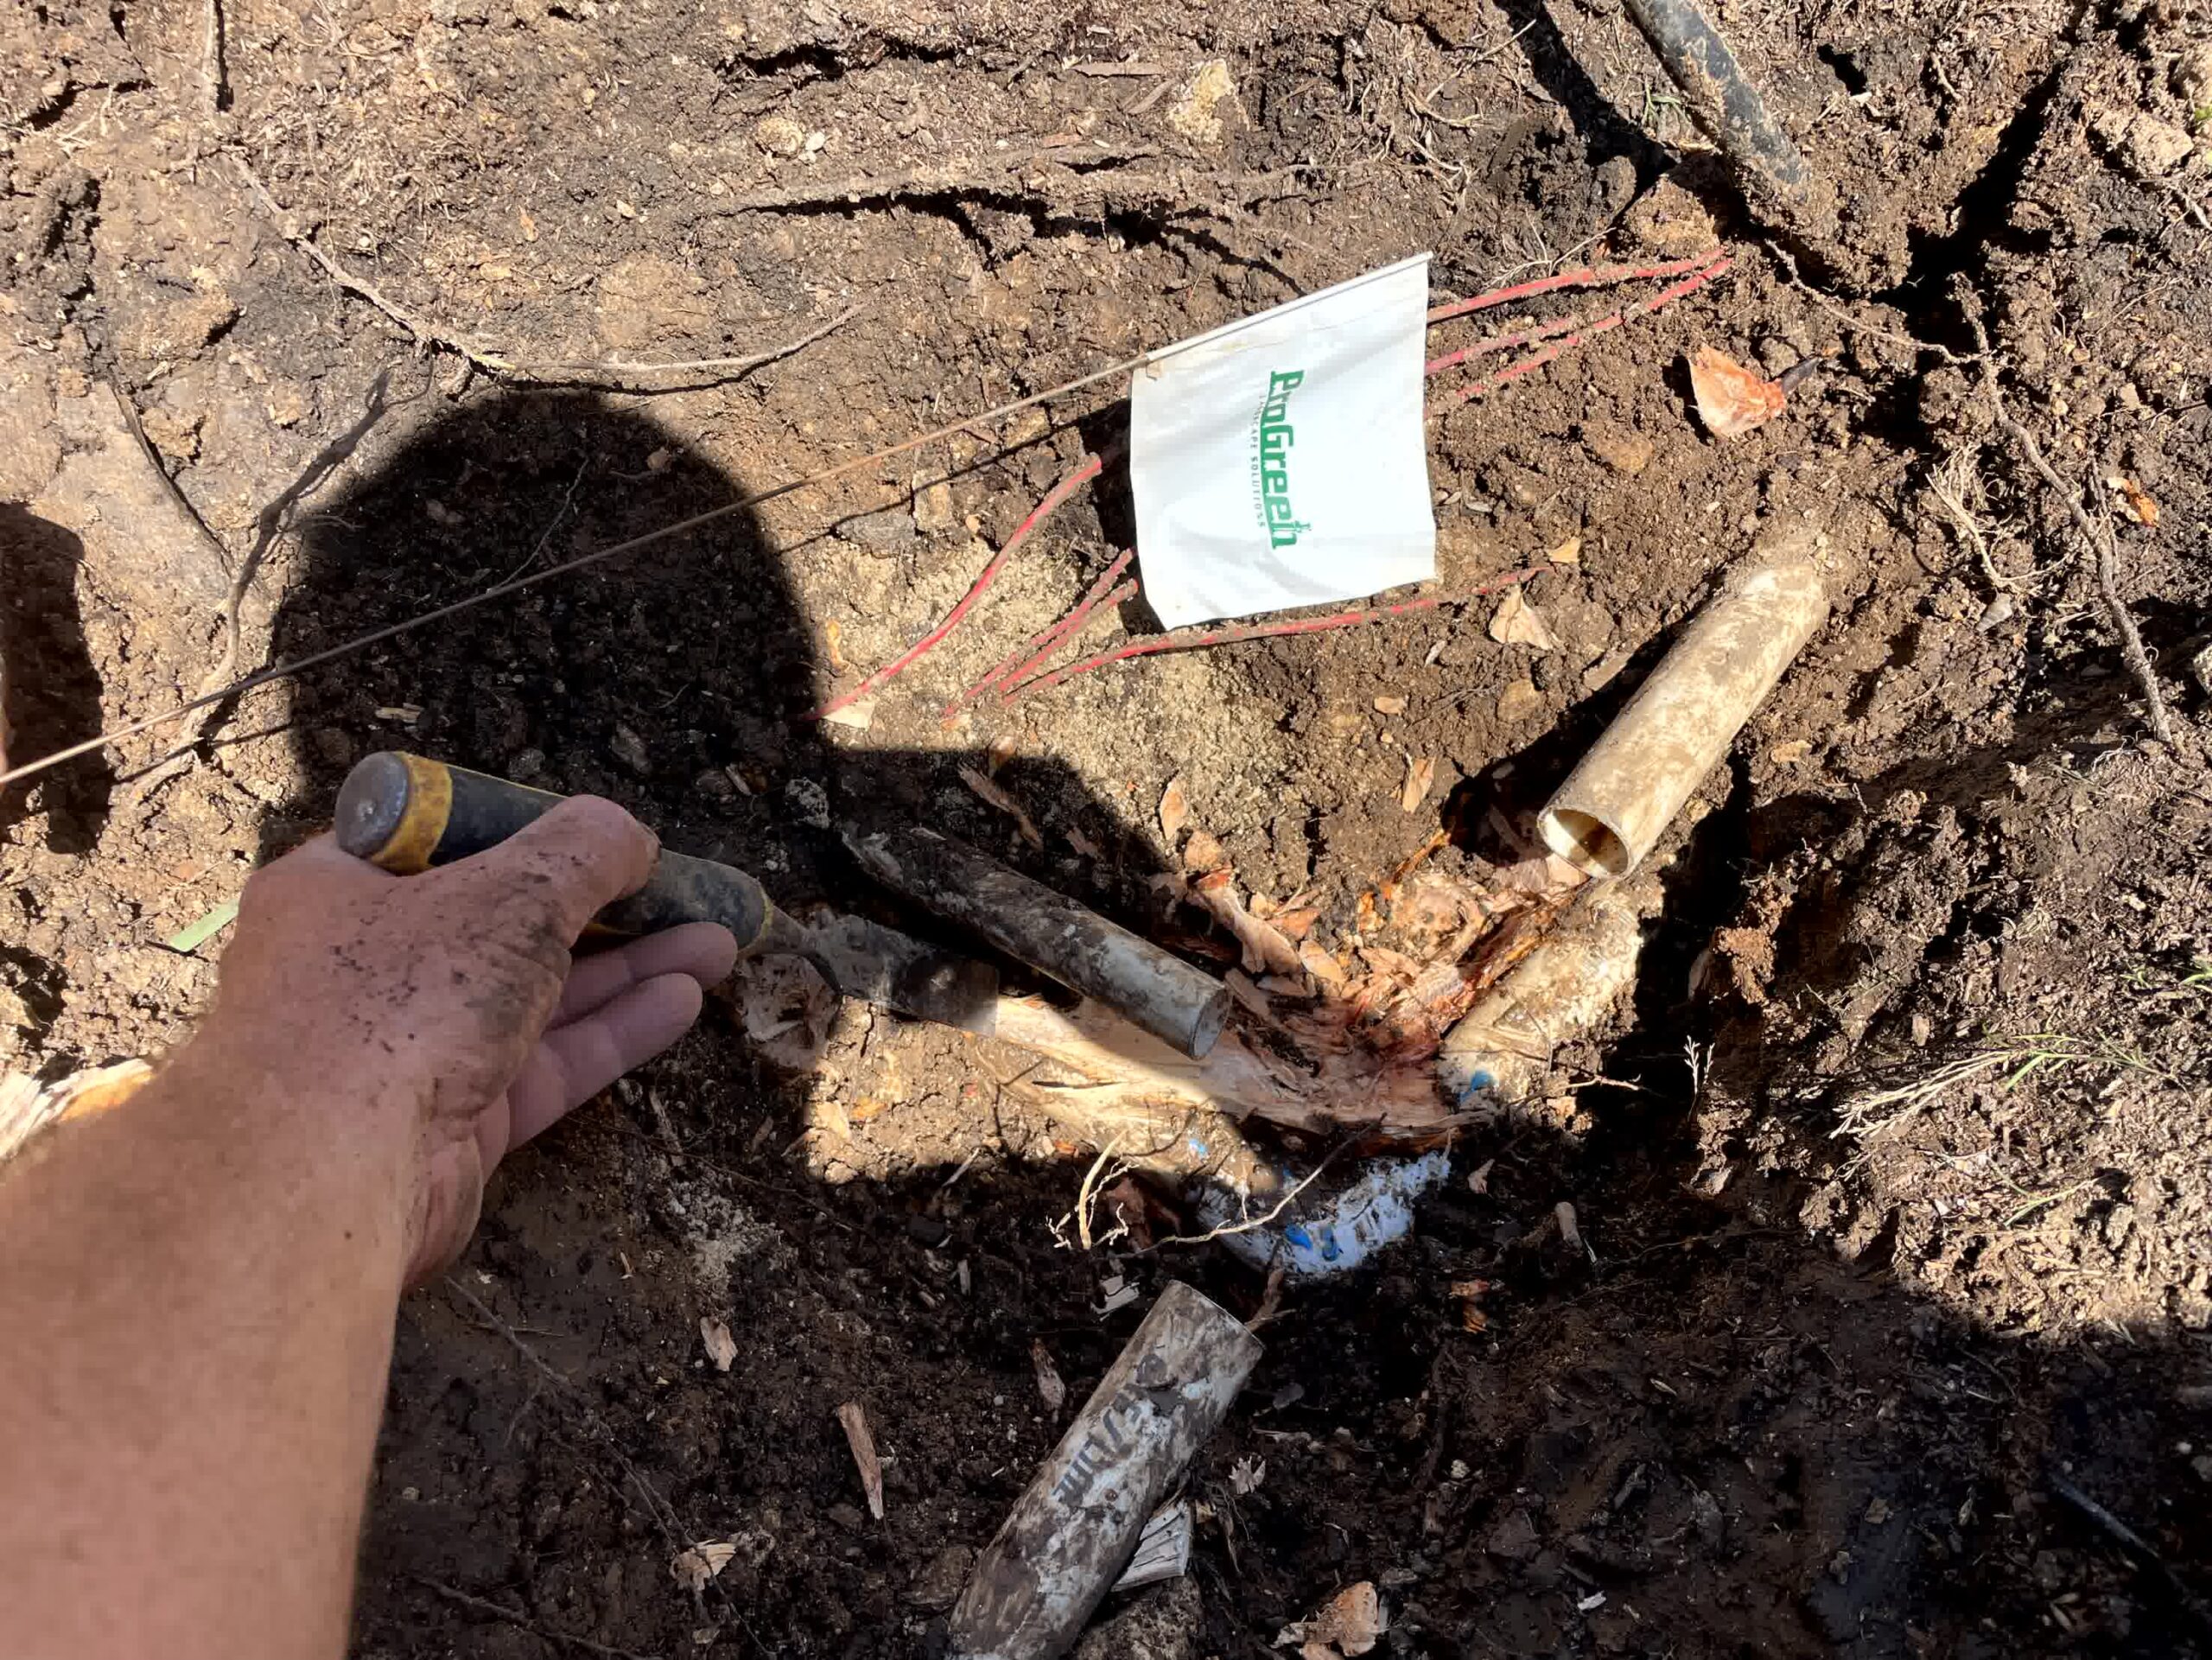
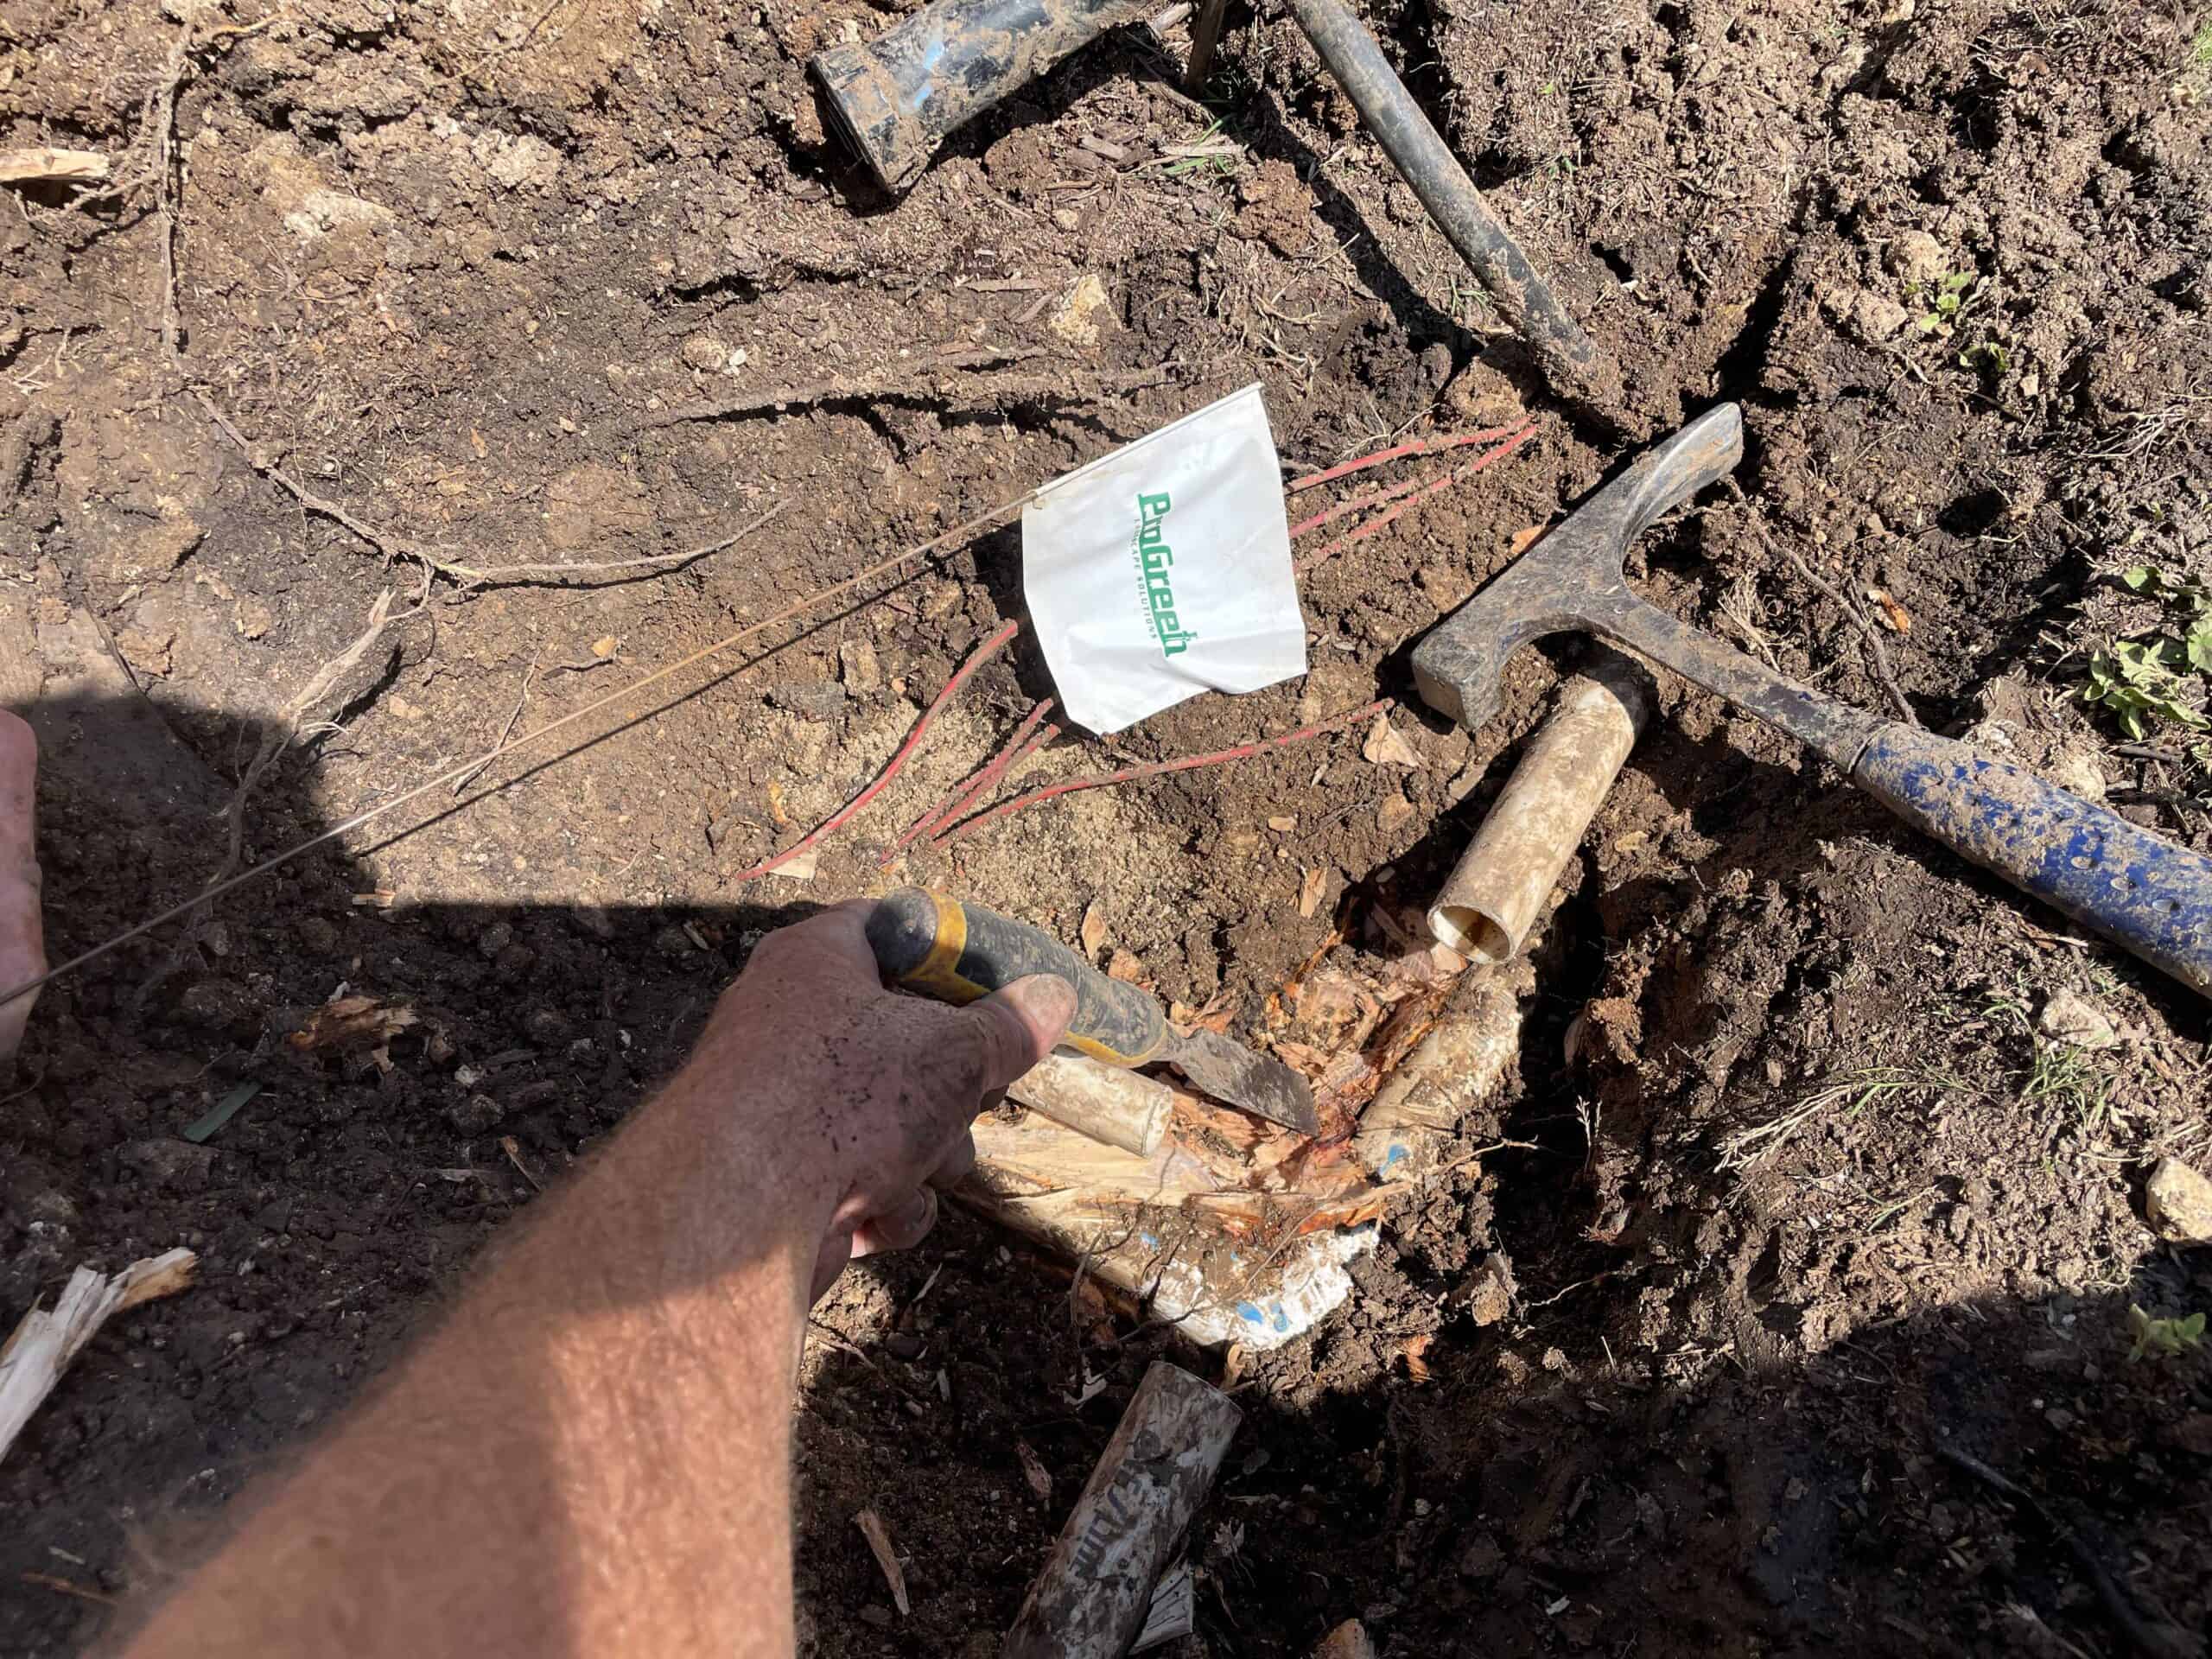
Replace Damaged Parts The Right Way And Reset Coverage
Cold can expose weak parts that were barely holding together in warm weather. Use this moment to replace brittle fittings with higher-quality components that better handle temperature swings. Swap cracked swing joints for flexible ones that absorb minor soil shifts. If a rotor housing splits, match the arc and radius of the original or upgrade to a pressure-regulated model that maintains consistent throw even when supply fluctuates. Every time you repair, flush the line briefly through an open riser to clear chips before threading in the new head. Clean threads and fresh tape or paste give you a tight seal that will not weep when frost returns.
Once hardware is updated, reset coverage with a simple water test. Watch for dry crescents behind shrubs and overwatered circles near corners. Nudge nozzles, adjust arc stops, and bring the height of each head flush with grade so it is not sitting low in a cup that traps water. If any head sits in a spot prone to freezing puddles, add a small ring of gravel to improve drainage, or consider a different nozzle pattern that throws less water into that pocket. Little tweaks now mean fewer midwinter surprises, and they keep the repaired system efficient while protecting the surrounding landscaping from ice.
Conclusion
Cold weather can be rough on irrigation, but steady steps and smart repairs keep water where it belongs and ice out of the picture. If you want an experienced hand to address leaks, insulate vulnerable areas, or fine-tune coverage after a cold snap, Progreen Landscape Solutions is ready to help. Share what you are seeing, ask questions, and schedule a visit when it fits your week. Reach out to get started, and the team will make sure your system is protected, efficient, and ready for the next temperature swing.
SERVICE AREAS

"*" indicates required fields
Contact Your Local Experts
Pro Green Landscape Solutions is currently accepting new clients! If you're seeking excellence, you're in the right place. We want to understand your needs, so when reaching out, please include detailed information to ensure we can assist you promptly. Don't forget to mention a preferred contact time that suits you best.
Thank you for considering us. We eagerly await the opportunity to serve you and to make a positive impact.
"*" indicates required fields