Irrigation Repair Tools & Tactics For Smooth, Seamless Fixes
Introduction: Irrigation repair looks simple from the sidewalk until a zone refuses to start or a soggy spot keeps returning. At that point, the right tools matter as much as the right instincts. With a calm approach and a tidy kit, you can diagnose cleanly, fix fast, and put the lawn back together without leaving scars.
Irrigation Repair Basics That Make Diagnosis Faster
Inside The Valve Box: Simple Tests That Tell The Truth
Pop the lid and give the valve box a quick tidy so you can see what is going on. Mud and roots hide leaks, so a small hand trowel and a rag are your first tools. A basic multimeter helps confirm that the solenoid is getting power, and a quick resistance check tells you if a coil is failing. Suppose you are unsure which valve controls a stubborn zone; a wire tracer and tone probe save time. Loosen the manual bleed screw for a moment and watch the zone react, because that tiny move separates electrical issues from hydraulic ones without guesswork.
Water behavior is the other half of the story. A small pressure gauge on a hose bib gives you context, while a flashlight helps you spot a weep line around the valve body. If a union drips into the valve box when the zone shuts off, the diaphragm may be dirty or warped. Keep a pair of channel locks and a compatible diaphragm kit in the bag, along with silicone-filled waterproof connectors for any wire splices that need a refresh. With these basics, the box stops feeling like a mystery and starts behaving like a clear little work station.
Spray Head Checks That Actually Solve Problems
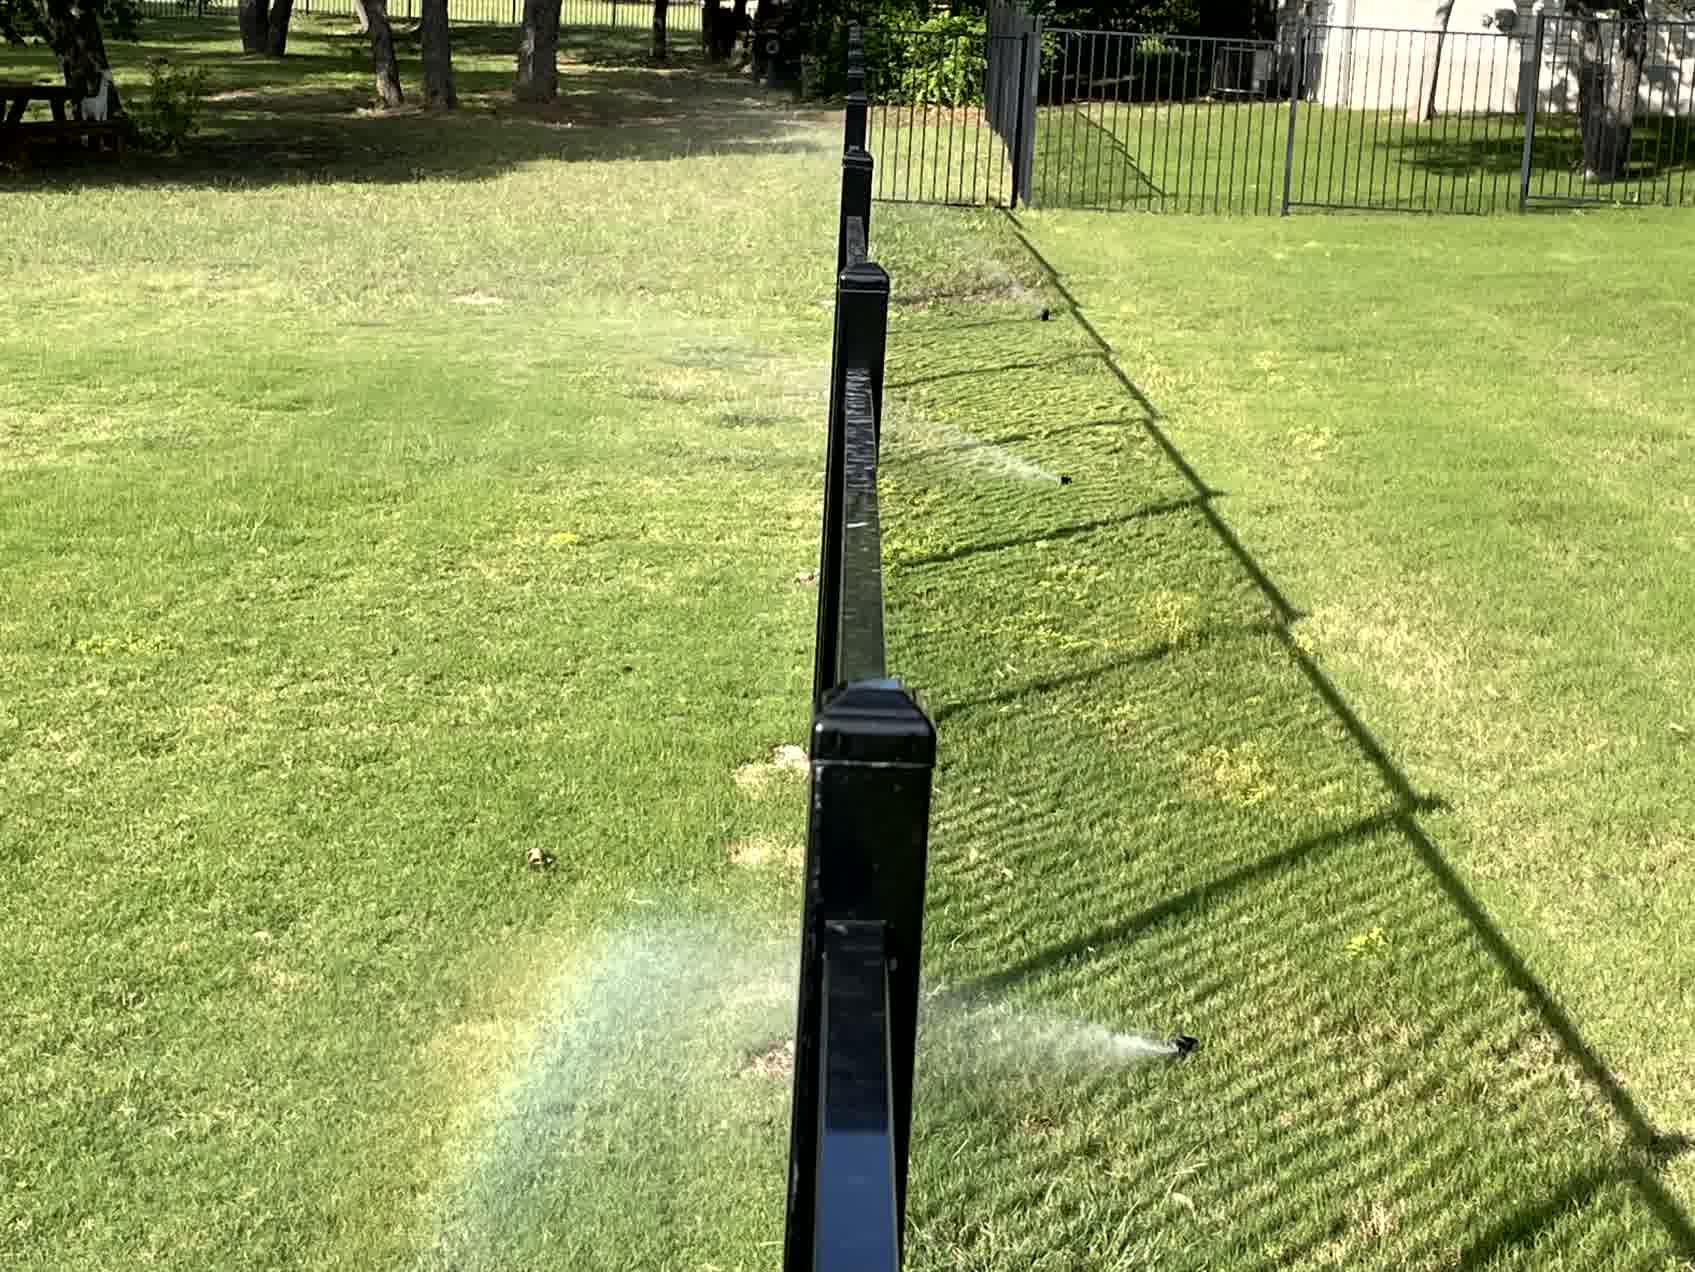
Before digging, look closely at each spray head while the zone runs. A pull-up tool makes it easy to lift a stubborn stem, and a small screwdriver lets you clean or swap nozzles without chewing the plastic. If a spray head sputters or throws a weak fan shape, check the filter basket under the nozzle, then confirm the riser is not cross-threaded. Keep a handful of matched nozzles on hand so patterns stay consistent after a repair, because mixing random outputs creates dry wedges you will fight all season.
Alignment matters as much as pressure. Set the top of each spray head flush with grade, neither sunken nor proud, and turn the pattern so water lands on the lawn rather than on fences or windows. Catch cups or simple, straight‑sided containers reveal coverage gaps in minutes, and they are invaluable when pressure is marginal. When you slow down for this little audit, you avoid chasing phantom leaks that are really just tired parts, and you return a zone to even watering without tearing up the yard.

Irrigation Repair Essentials: Tools That Turn Tough Fixes Easy
Cutting, Joining, And Sealing PVC The Right Way
Clean pipe work is quiet pipe work. A sharp ratcheting PVC cutter makes square cuts that glue correctly, while a fine-tooth saw stays handy for tight spots where a cutter will not swing. Keep purple primer and a fresh can of solvent cement on hand so joints bond reliably, and wipe fittings before gluing to prevent grit from riding into the seal. Repair couplings, unions, and slip‑fix style telescoping pieces earn their place when a break is close to a fitting or under a walkway, and they spare you from over-digging.
Threads deserve their own attention. Wrap male threads with quality tape, then add a thin bead of paste to stubborn connections to achieve a dry seal without over-tightening. Around heads and swing joints, carry a few funny pipe fittings and sturdy swing joints to absorb movement and protect the riser from mower bumps. With these parts in the bucket, you are prepared for straight-line breaks, cracked tees, and awkward offsets that used to trigger a second trip to the store.
Electrical Tools For Reliable Valves And Controllers
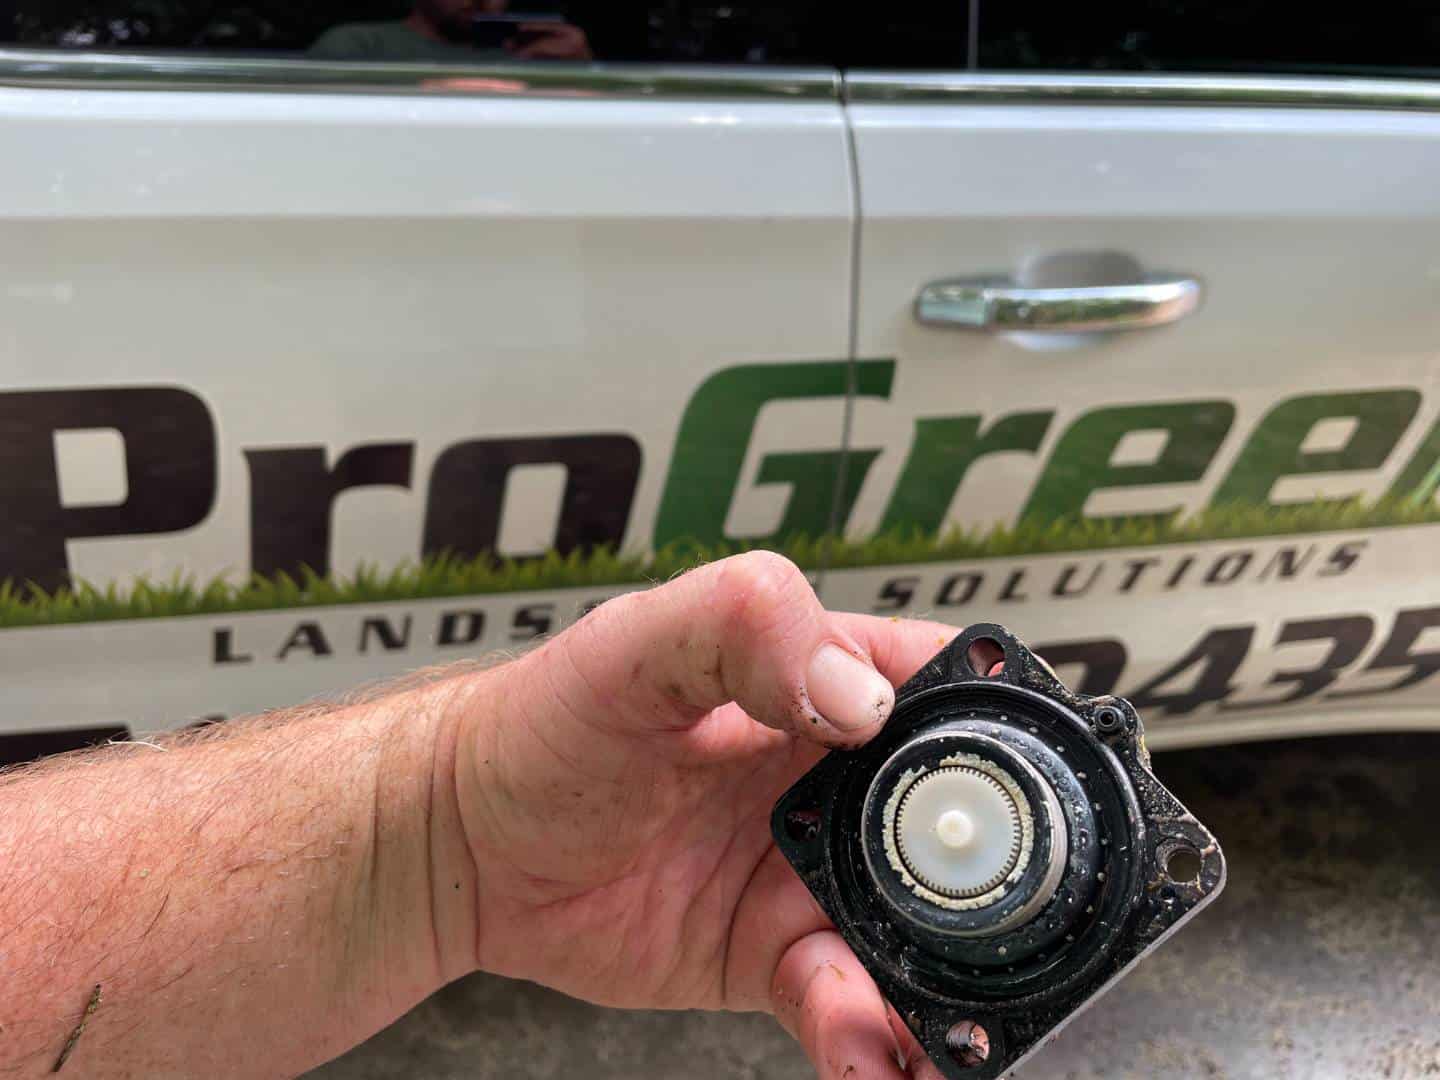
Reliable irrigation repair means making good decisions with numbers, not hunches. A digital multimeter that reads ohms and AC voltage lets you prove a circuit from the controller to the solenoid. A tone generator with a probe helps trace buried wires when as‑builts are missing, and a compact wire stripper, along with properly filled gel‑filled connectors, keeps splices sealed for seasons. Pack extra solenoids that match your common valve bodies, so a dead coil turns into a twelve-minute fix instead of an afternoon.
At the controller, a non-contact voltage tester confirms you are safe to work, and a simple notebook helps you log zone behavior as you test. If programs get scrambled, you can reset to a clean schedule without guesswork. A small pressure gauge and a flow meter attachment at the backflow can help confirm leaks after hours, when it is quiet. None of these tools feels flashy, yet together they give you clear answers that speed decisions and prevent repeat visits.
Irrigation Repair In The Field: Heads, Lines, And Clean Finish Work
Spray Head, Rotor, And Drip Fixes Without The Mess
Excavation can be tidy. A flat spade and a narrow trenching shovel let you lift a neat sod flap, set it aside, and return it later so the spot blends in. For a broken lateral, expose at least a forearm’s length of pipe so you can cut square, dry fit confidently, and glue without stress. When a spray head breaks at the riser, swap in a swing joint or flexible riser so future bumps do not repeat the damage. Keep spare stems, caps, check valves, and matched nozzles so you can bring a head back to life in one go.
Drip repairs follow the same calm rhythm. A drip punch, a handful of couplers, and goof plugs let you redirect lines around a new planting or patch a chew spot from a curious pet. Flush the line before reassembling, then open the end cap and clear any grit from the filter at the pressure regulator. A quick test run confirms that the drippers are pulsing, the sprayers are misting evenly, and you have not left a hidden kink under the mulch. It is simple, methodical work that saves you from callbacks and keeps beds in Austin TX happy.
Backfilling, Leveling, and Leaving A Better Yard Behind
A repair is not finished until the surface looks untouched. Backfill in shallow lifts and tamp lightly so the trench does not sink into a visible scar. Around each spray head, add a ring of clean sand or screened soil so the body sits stable and the top lands flush with grade. Turn the zone on for 1 minute and adjust the arc while the head is at operating height, then wipe the cap and confirm there is no weeping at the threads. These tiny touches make the fix feel professional rather than patched.
Clean up is part of the craft. Rinse concrete dust from nearby hardscape, brush excess soil from turf, and tuck the valve box lid so it sits flat. A quick photo of the open trench and the finished area helps if the spot needs attention later. Jot down nozzle sizes and any oddities in the zone, like a long run that starts slow, so the next visit begins smarter. When the last tool goes back in the bag and the yard looks calm, the repair feels complete.
Conclusion
If your system is acting up, the path to a steady fix is simpler than it looks once you have the right tools and a clean process. Start at the valve box, verify power and pressure, tune each spray head, and make repairs that disappear into the landscape. Progreen Landscape Solutions will walk you through a straightforward solution with clear pricing and careful work that keeps water where it belongs. Contact us today to get your irrigation repair done right.
SERVICE AREAS

"*" indicates required fields
Contact Your Local Experts
Pro Green Landscape Solutions is currently accepting new clients! If you're seeking excellence, you're in the right place. We want to understand your needs, so when reaching out, please include detailed information to ensure we can assist you promptly. Don't forget to mention a preferred contact time that suits you best.
Thank you for considering us. We eagerly await the opportunity to serve you and to make a positive impact.
"*" indicates required fields