Learn to Perform Sprinkler Repair Like a Confident Expert
Introduction: Sprinkler repair is one of those projects that looks simple from the sidewalk, only to surprise you with a muddy hole and mysterious leaks once you dig in. The truth is, with a calm plan and a few professional habits, most repairs are very doable. This guide explains how the pros approach sprinkler repair, from diagnosis to clean fixes, so your irrigation runs smoothly and your landscaping stays happy.
Sprinkler Repair Diagnostics That Reveal The Real Problem
Finding Leaks, Pressure Issues, And Hidden Breaks
Pros start with the water off and eyes open. Walk the zones and look for hints before you touch a tool. Sunken patches can indicate a slow underground leak, while a bright green circle around a single head often signals a cracked fitting just below the surface. When the system runs, watch for misting instead of steady streams, which suggests high pressure. If heads barely rise, that is often a clogged filter, a pinched line, or low pressure from a supply issue. The goal here is to gather clues, not guess.
Use a simple process to isolate trouble. Run one zone at a time and stand where you can see most of it. If several heads in a zone sputter together, the problem is upstream, like a valve screen loaded with debris. If just one head behaves badly, the break is local. Check the controller to confirm that the zone you are testing matches the label. That small confirmation prevents you from chasing the wrong pipe. Professionals slow down in diagnostics because accurate reading saves time, parts, and frustration.
Zone Testing, Controller Checks, And Valve Verification
In Houston TX, controllers can look fine while quietly causing headaches. Confirm start times, watering days, and run lengths, then run each zone manually so you can watch valves open in order. If a zone will not start from the program but runs manual, the schedule is the issue. If it fails in both, check the wiring connections at the controller and the valve. A gentle tug test on each wire tells you if a connection is solid. Corrosion under a wirenut is common and easy to miss until you actually pull it apart.
Valves deserve a closer look when zones stay on or refuse to open. Turn the water off, loosen the solenoid, and listen for a soft click when you activate that zone at the controller. No click points to a dead solenoid or a wiring break. If it clicks but water does not move, a stuck diaphragm is likely. Clean the body, rinse the diaphragm, and clear the small bleed port that lets pressure shift. A quick reassembly with a fresh gasket seats everything correctly. That measured approach keeps you from replacing an entire valve when a ten-minute clean would have solved the problem.
Sprinkler Repair Techniques For Clean, Lasting Fixes
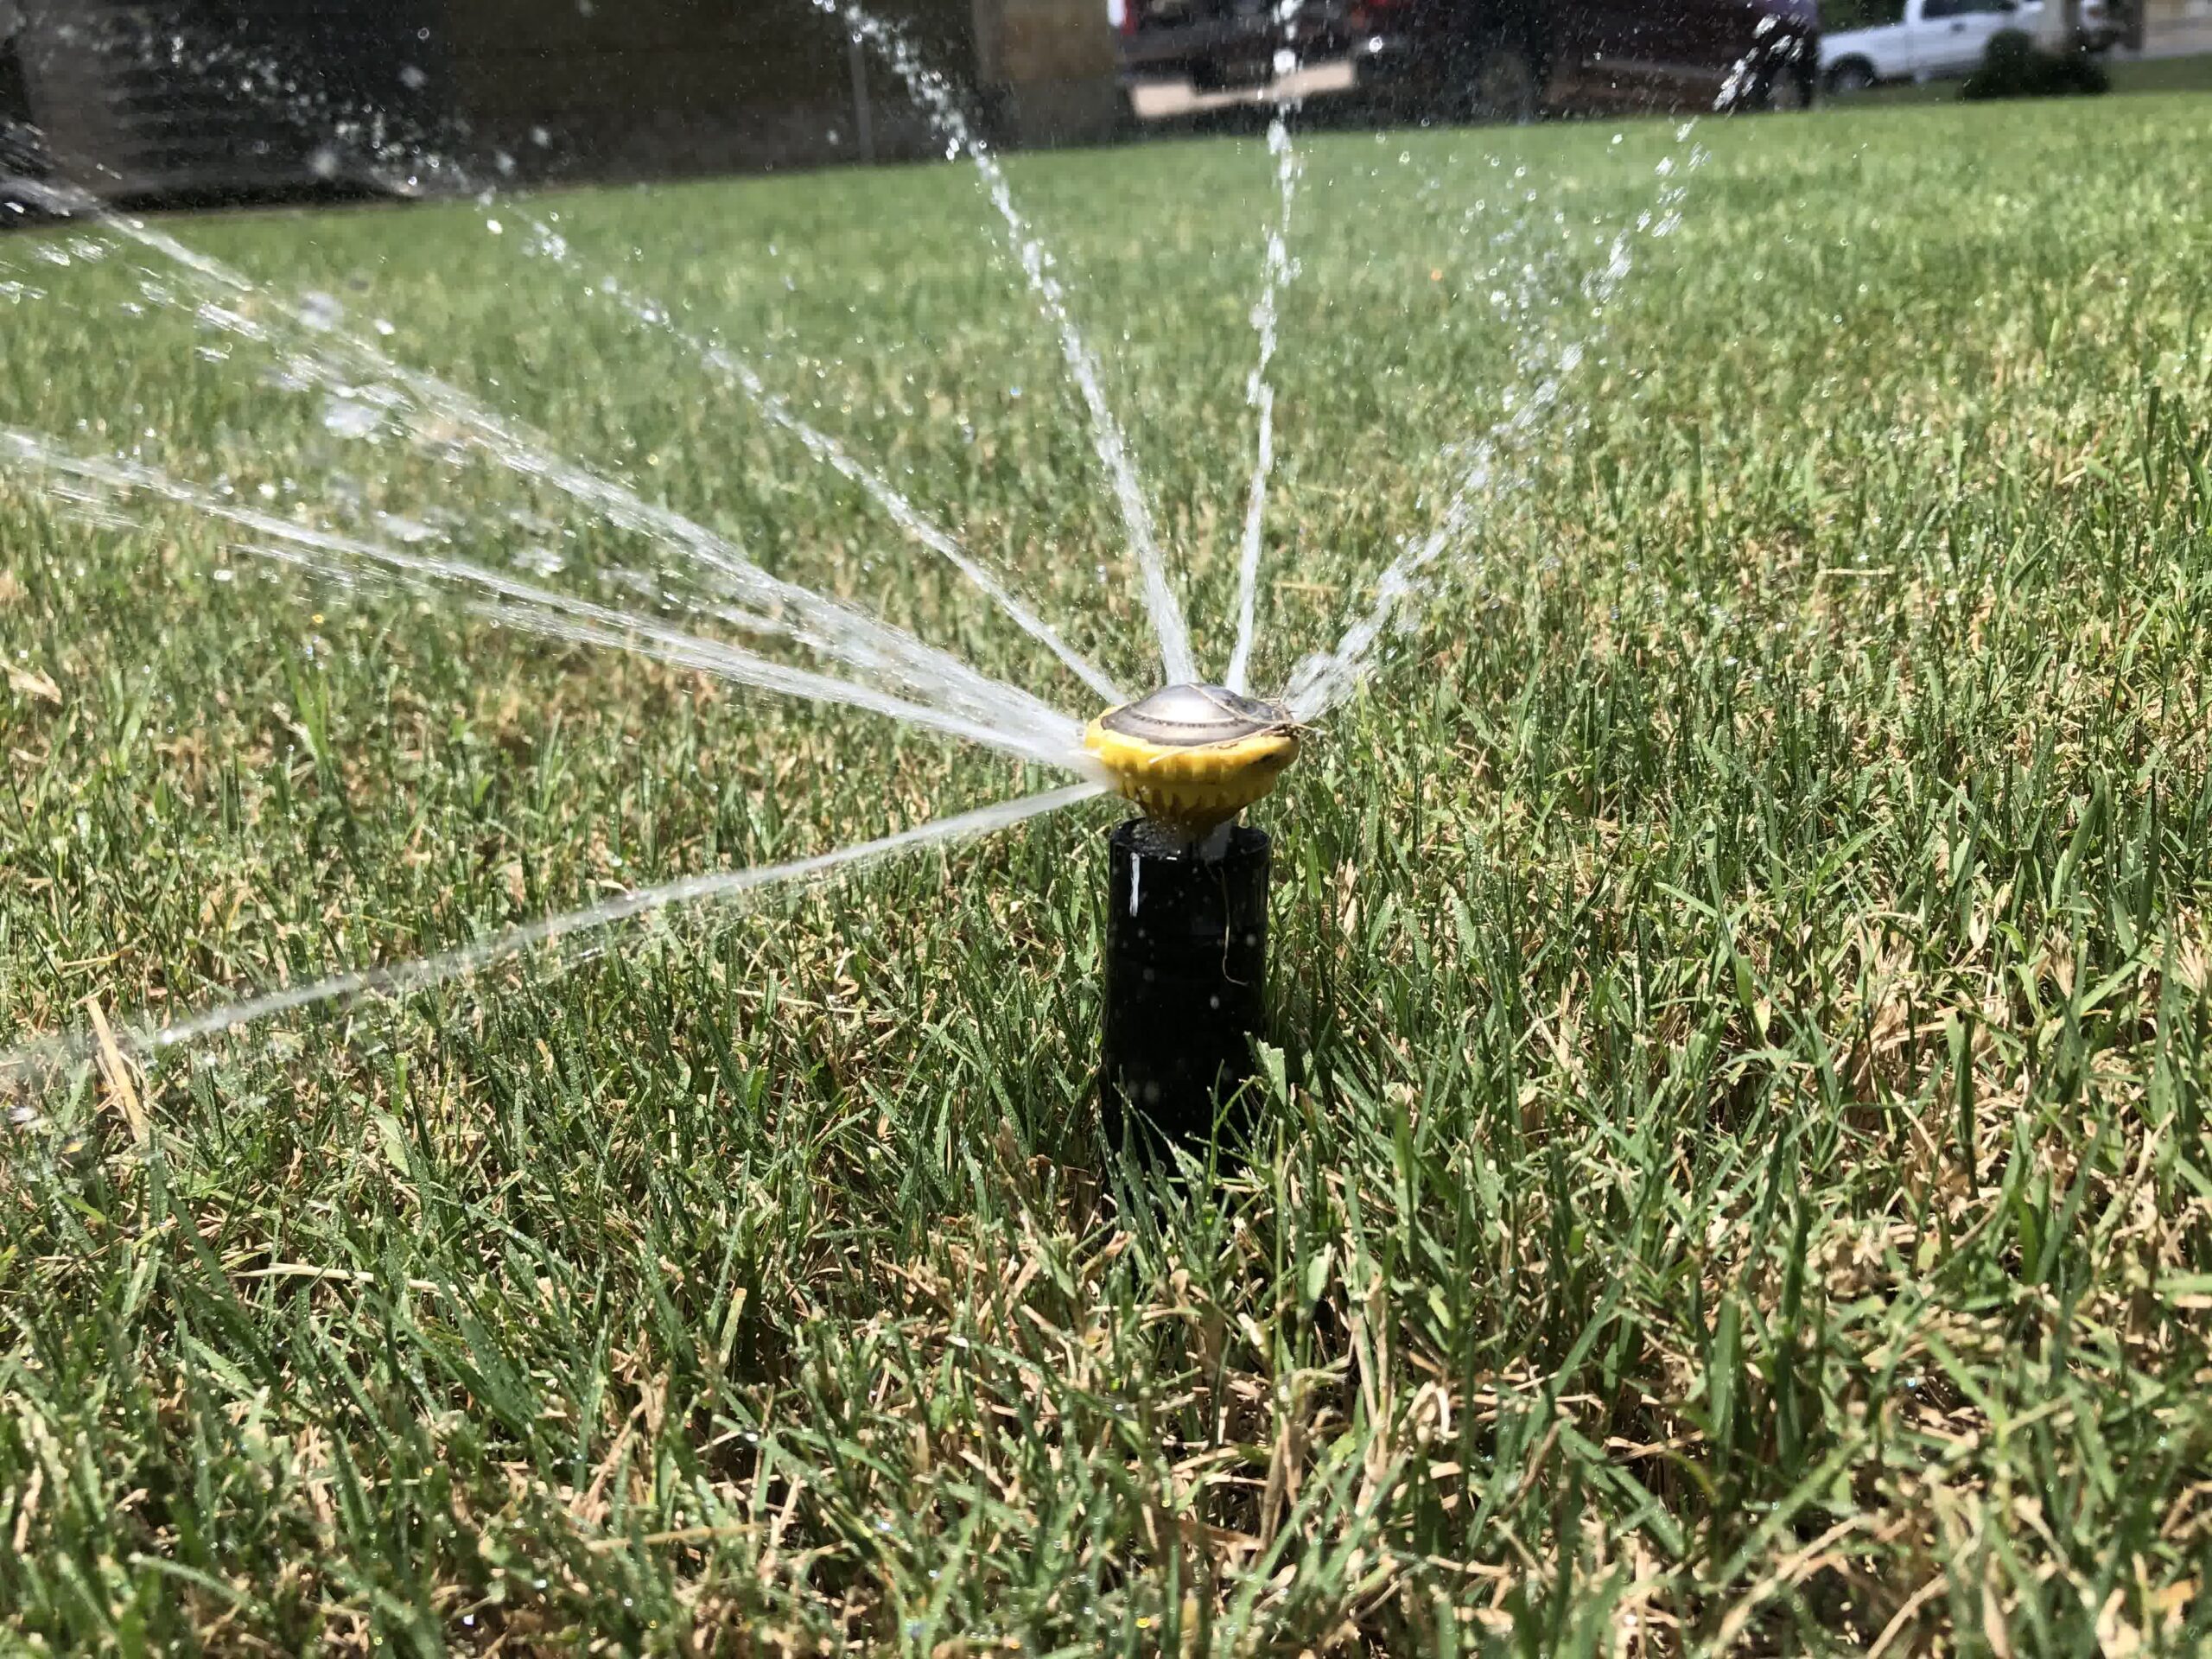
Replacing Broken Heads, Nozzles, And Risers The Right Way
A clean head swap starts underground. Cut a neat plug of turf, set it aside like a lid, and dig a tidy hole large enough to work without stressing the pipe. Flush the line briefly before installing the new head to prevent grit from riding into the filter. Match the replacement to the job. Use the same body height and thread size, and choose a nozzle that fits the spacing. For spray zones, a matched precipitation nozzle keeps distribution even, which protects your irrigation scheduling from becoming a math puzzle later.
Set the head at grade with the top perfectly level, then align the arc before backfilling. If the head tilts, it will settle crooked, and the pattern will waste water on hardscape or dry out corners of your landscaping. For snapped risers, replace the nipple with a new one and consider a swing joint if the area sees foot traffic or mower pressure. Swing joints give and protect the lateral line from future breaks. A final flush and a short test run confirm that the spray reaches edges without splashing fences, paths, or windows.
Repairing Pipes, Fittings, And Joints Without Shortcuts
Pipe repairs reward patience. Start by exposing enough of the lateral to work comfortably. For PVC, cut a square on both sides of the break, clean the ends, and dry-fit your couplings before opening the cement. Primer first, then a smooth coat of cement on both the pipe and the fitting, push with a twist, and hold steady for a count so the joint does not creep apart. Allow a proper cure window based on temperature. Rushing this part is how leaks return and trenches reopen.
For poly lines, use barbed insert fittings with quality clamps. Heat the pipe gently with warm water if it is stubborn. Slide it deep over the barb, and set two clamps opposite each other for a firm seal. If roots caused the break, trim them cleanly and consider rerouting around the cluster to prevent a repeat. Before backfilling, pressure test the zone and watch for sweating joints. Backfill in lifts, tamping lightly so the pipe has support without being crushed. A tidy repair under the soil is what keeps everything above the soil looking effortless.
Sprinkler Repair, Maintenance, And Prevention That Saves Time
Seasonal Adjustments, Coverage Tuning, And Water Savings
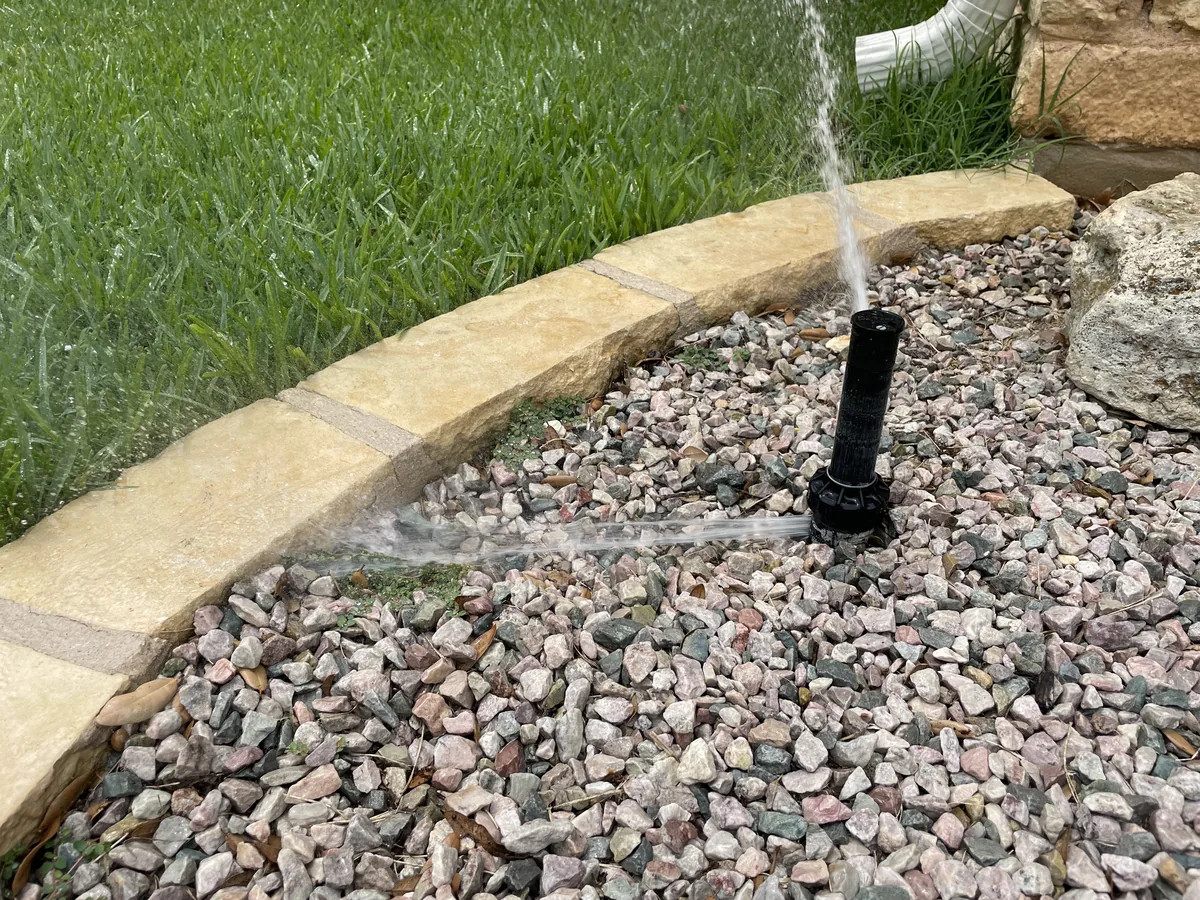
Once the system is healthy, tune it like a professional. Seasonal adjustments on the controller let you scale run times up or down without rewriting every zone, which keeps irrigation in step with real weather. Early in the season, walk the property while zones run, check overlap, fine-spray, and throw to the edges. A quarter turn on an arc or a quick nozzle swap can solve a dry strip that has bugged you for years. These tiny changes are where water savings usually hide.
Pressure regulation is another quiet win. If you see misting from sprays, a regulated head or a zone pressure regulator can smooth the pattern and put water on the lawn rather than in the air. Rotors benefit from steady pressure too, which helps them sweep evenly and hit their marks. Document these tweaks so next year’s adjustments start from a known baseline. Sprinkler repair is not only fixing what breaks. It is refining performance so the system supports plant health without wasting a drop.
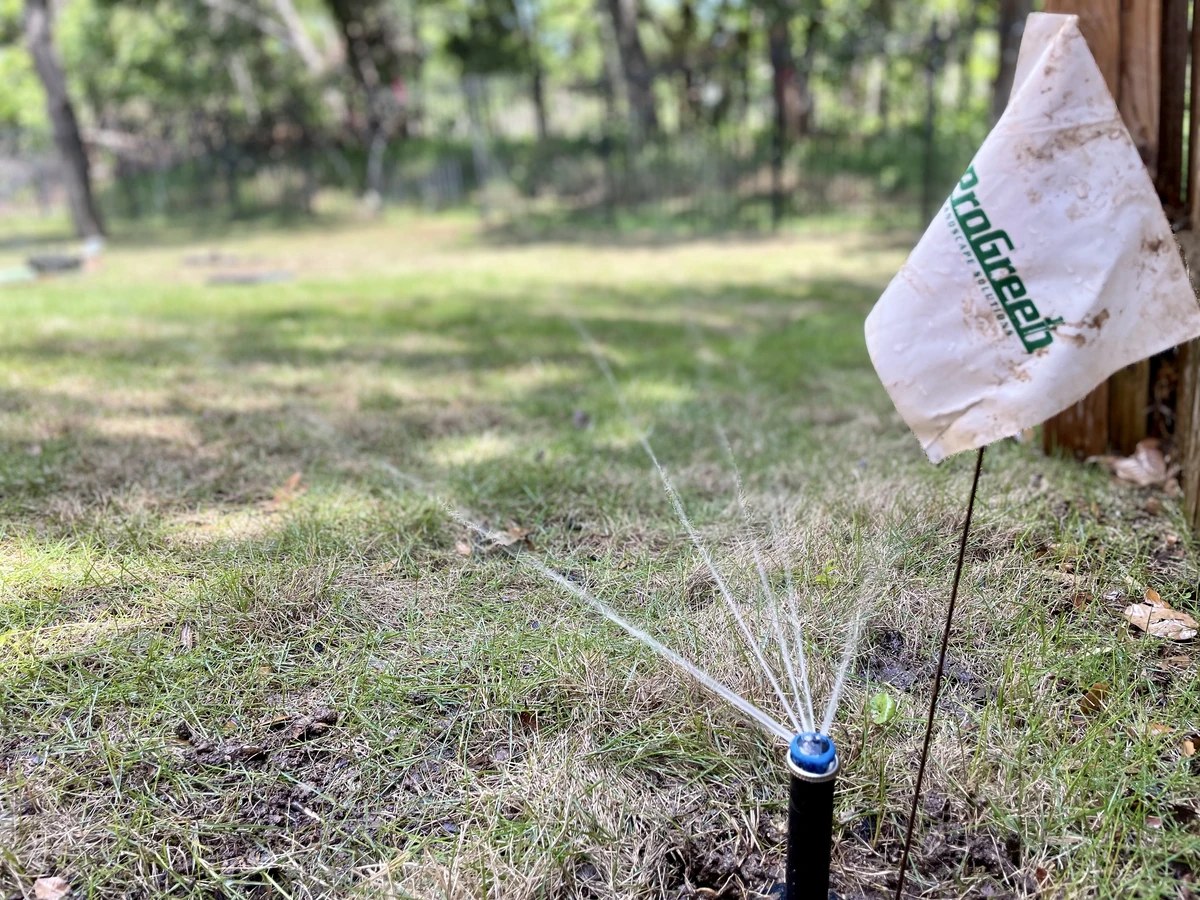
Protecting Landscaping While You Work And After You Finish
A professional repair leaves the site looking cared for. Keep soil off the hardscape with a small tarp beside your trench, and return turf plugs like puzzle pieces so the seams disappear after a couple of irrigations. When a head is near delicate plants, use a short stake and flag to remind mowers and pets that the area has been disturbed. The work is temporary, but the protection reduces footpaths across soft ground and keeps your landscaping from taking collateral damage.
After repairs, set a brief early-morning cycle for a few days to help the soil settle around the work area. This gentle run seats the head, reveals any slow weeping you might have missed, and keeps the surrounding bed from drying oddly while the trench heals. If you replaced several components, note the brand and nozzle sizes in a simple system log. That tiny bit of record keeping makes the next round of sprinkler repairs a straightforward task rather than a guessing game, and it helps the whole system age gracefully.
Conclusion
Sprinkler repair goes smoothly when you slow down, read the system, and make clean, lasting fixes. If the idea of tracing wires, opening valves, and matching nozzles sounds like more than you want to tackle this week, hand it to Progreen Landscape Solutions. Share what you are seeing, when the problems started, and what your landscaping needs most. Their team will diagnose with care, repair with precision, and set your irrigation up for reliable days ahead. Contact us to schedule your repair and get your system back to ease.

"*" indicates required fields