Rain Bird Made Easy with Quick Setup and Fixes
Introduction: Getting the most out of your Rain Bird irrigation system doesn’t have to be complicated. Whether you’re new to Rain Bird or just need a refresher, understanding how to program your controller, use manual features, and troubleshoot basic issues can save you time, money, and stress. With just a few practical steps, you’ll be watering smarter and more efficiently, keeping your lawn and landscape thriving all season long.
How to Program Your Rain Bird Controller
Getting Started with Basic Setup
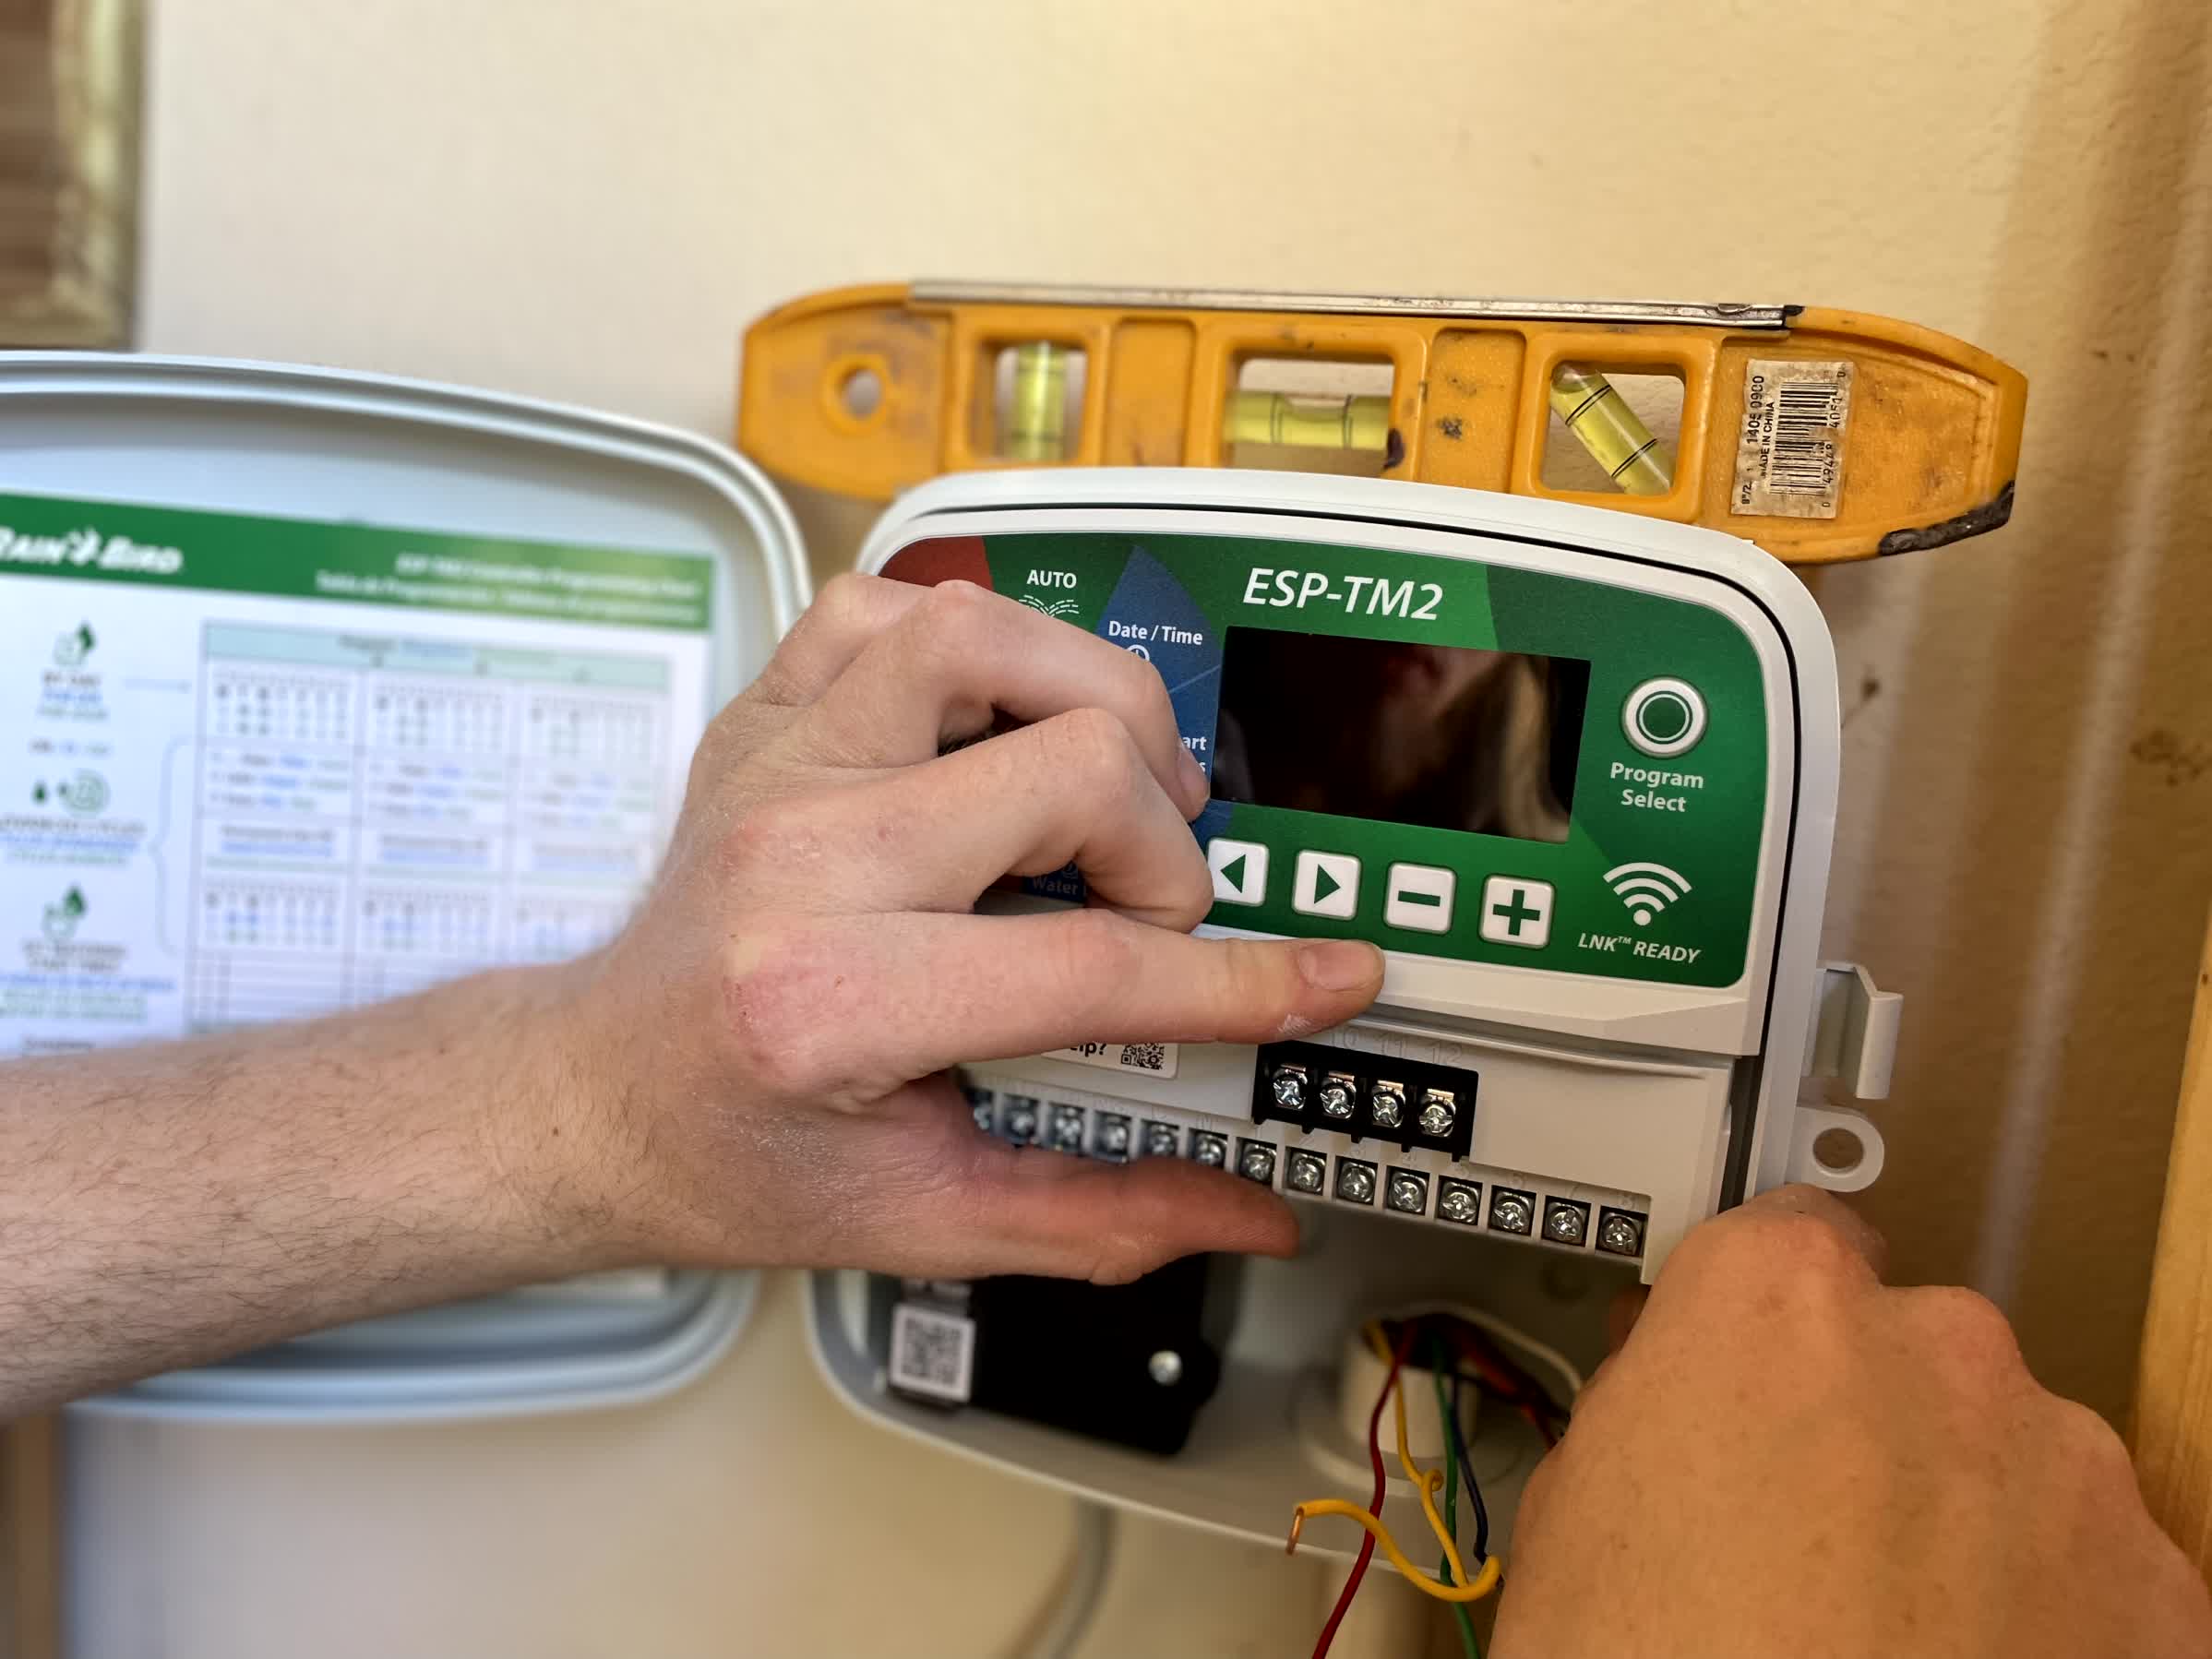
Setting up your Rain Bird controller correctly ensures your yard gets the water it needs without waste. Start by adjusting the current date and time. This is essential because your entire watering schedule runs from this reference point. Use the dial or menu screen to navigate to “Set Date/Time,” and input the correct information.
Next, define start times. A start time is when your watering program begins, not when each zone starts watering. If you set one start time and have five zones programmed, each zone will run in order after that start time. To avoid overwatering, only use multiple start times if you’re running different programs (like morning and evening cycles for new sod). Then, set the duration (or run time) for each zone, based on plant type, soil, and sunlight exposure. Finally, choose the days you want your system to water. Most Rain Bird models allow you to select specific days of the week or odd/even day cycles.
Using Seasonal Adjust and Water Delay
The Seasonal Adjust function helps reduce watering during cooler months or increase it during hotter periods without changing your whole schedule. Simply increase or decrease the percentage to reflect the climate. If you’re expecting rain or need to pause watering temporarily, use the Water Delay or Rain Delay feature, which pauses the schedule without deleting your settings.
Manual and Test Mode Features for Quick Control
When to Use Manual Mode
Manual watering is helpful when you want to water a specific zone on demand without changing your set schedule. Use it after planting new flowers, installing sod, or during troubleshooting to test a sprinkler head. Most Rain Bird models let you manually start any zone from the dial or via the mobile app if your controller is WiFi-enabled. Once you select the zone and run time, the system will only activate that area and then return to automatic mode afterward.
Running a Test Cycle
Test mode allows you to run all zones for a short, consistent period—usually two minutes—so you can inspect spray patterns, pressure, and performance. This is ideal after doing repairs, swapping out heads, or just confirming everything is working. To run a test, rotate the dial to the Test position or navigate to it from the menu. Start the test and walk your property while it cycles through each zone.
Troubleshooting Common Rain Bird Problems
Fixing Leaks, Low Pressure, and Stuck Valves
A common issue homeowners face is a leaking sprinkler head or low pressure in certain zones. Leaks often result from cracked risers, worn seals, or debris caught in the nozzle. Turn off the water supply, unscrew the head, clean or replace it, and check for damage to the pipe beneath. For pressure issues, inspect the filter screen and flush the line if needed. If a zone won’t shut off, the valve solenoid may be stuck open—unscrew the solenoid, clean it, and reattach it securely.
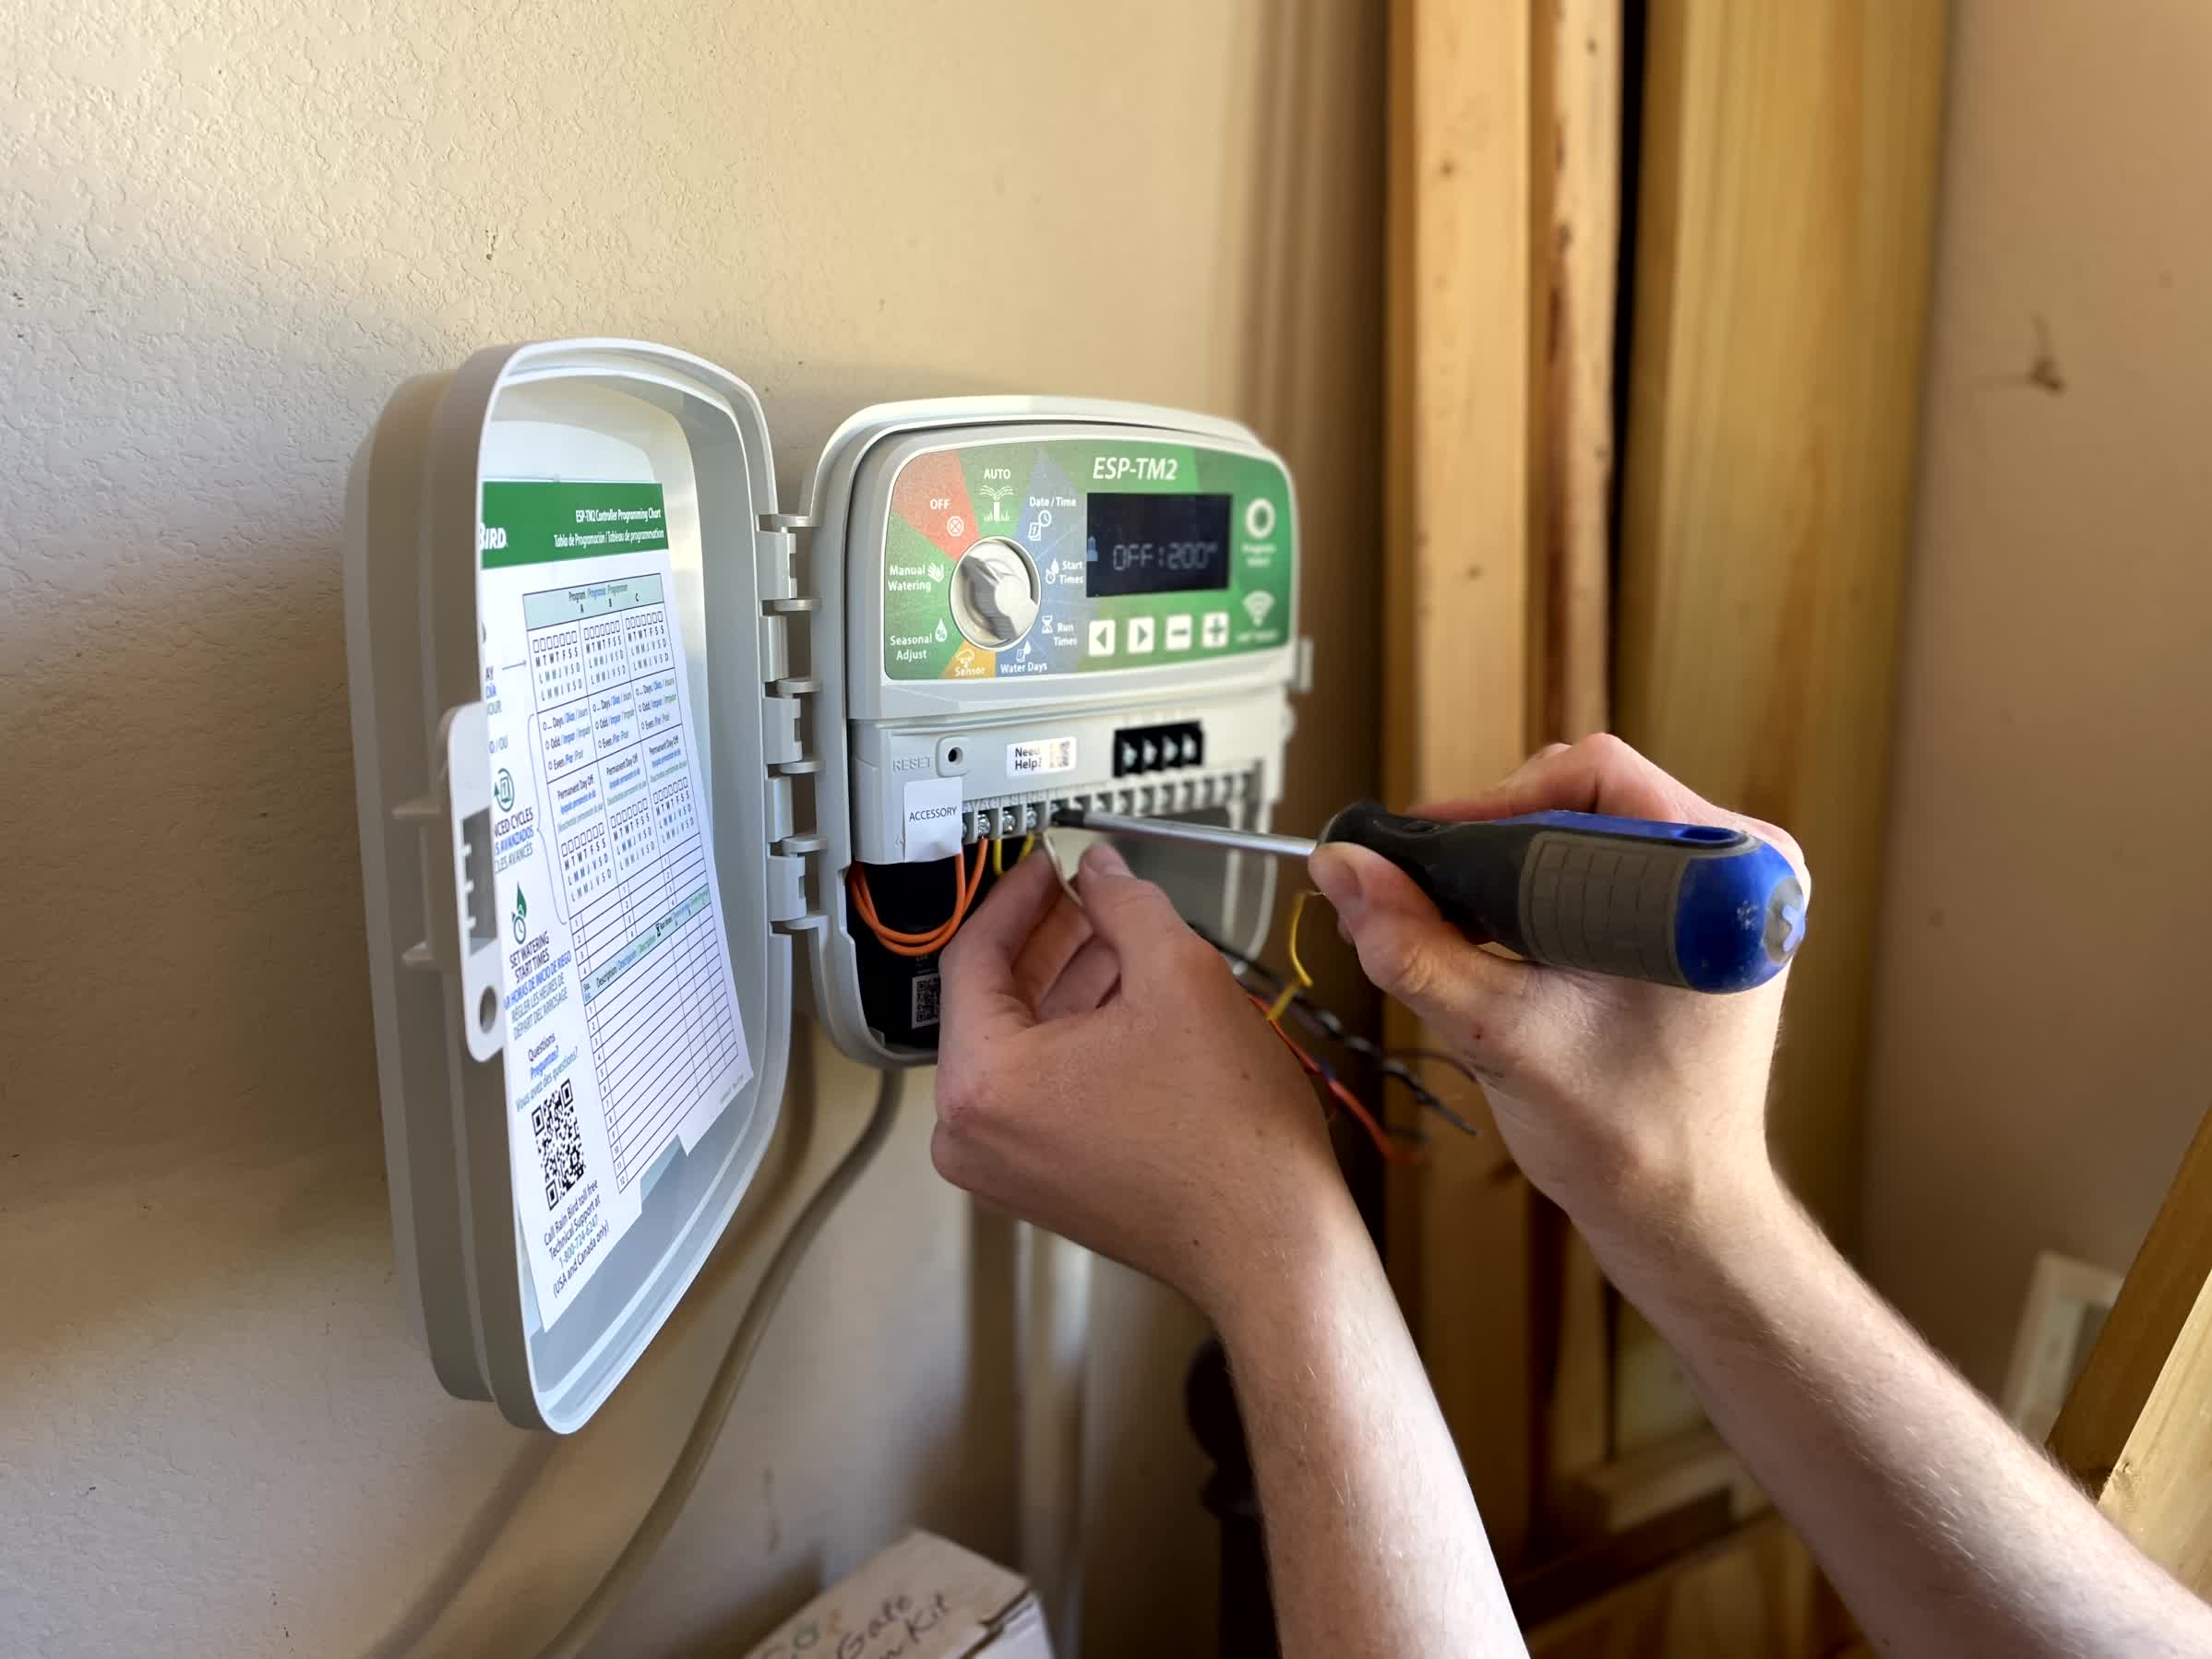
Resolving Controller or Zone Failures
If one or more zones aren’t coming on, double-check your wiring connections inside the controller. A loose common wire is a frequent culprit. Also, make sure the zone hasn’t been accidentally turned off in the program settings. If everything seems fine but the zone still won’t run, the solenoid might need replacing. Test it with a voltmeter or swap it with another known working valve to isolate the issue.
Conclusion
Learning how to manage your Rain Bird system empowers you to take control of your landscape’s health. From programming your controller and manually operating zones to troubleshooting leaks and electrical issues, a little knowledge goes a long way. With consistent maintenance and a few smart adjustments, you’ll get peak performance from your system and greener results in your yard. Whether you’re prepping for a hot summer or doing spring maintenance, Rain Bird makes it easy to keep your irrigation on point. Get in touch with us right now to learn more about our rainbird controllers as well as our Irrigation, Sprinkler Repair & Irrigation System Repair services.

"*" indicates required fields

RACHEL, H
C.W.
GEORGE, T.
MARK, A.
SERVICE AREAS
Dallas
Fort Worth
Frisco
Irving
Arlington
Plano
Allen
University Park
Grand Prairie
Richardson
Preston Hollow
Highland Park
Lakewood
Farmers Branch
Balch Springs
Duncanville
Coppell
Grapevine
Vickery Meadow